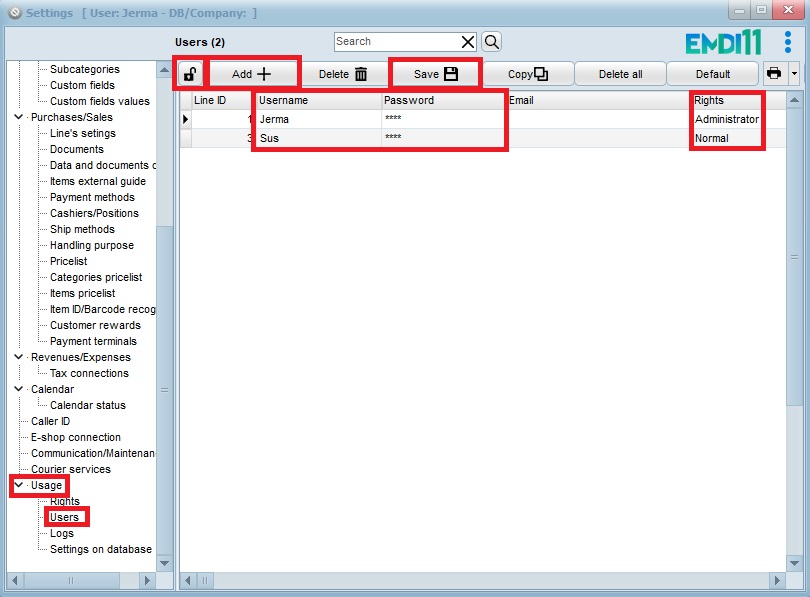
To create one, or more users in EMDI, first go to settings –> Usage –>Users. Unlock the lock icon on the top left, press the “Add +” button, then then fill the Username, Password, set the user’s rights and finally press “Save”. The other fields are optional.
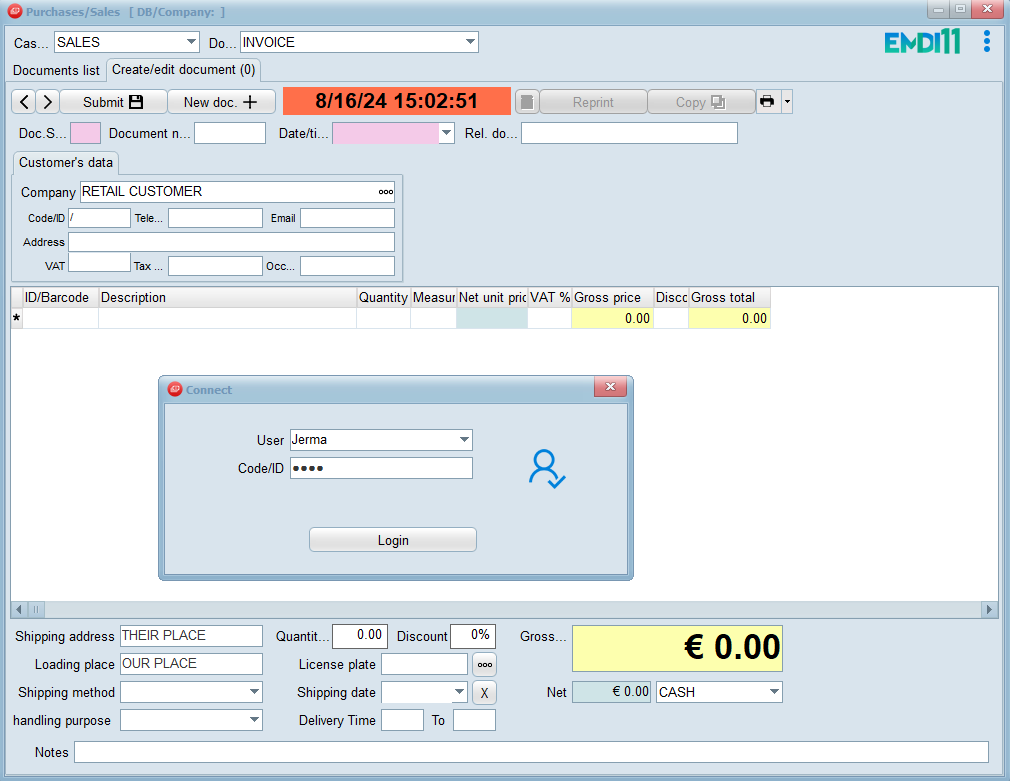
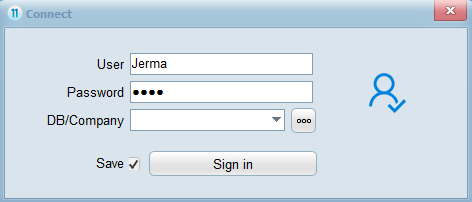
To log in, either enter Sales/Purchases, either double click EMDI’s logo from the toolbar and fill username/password.
Log in via Purchases/Sales
Log in via the toolbar
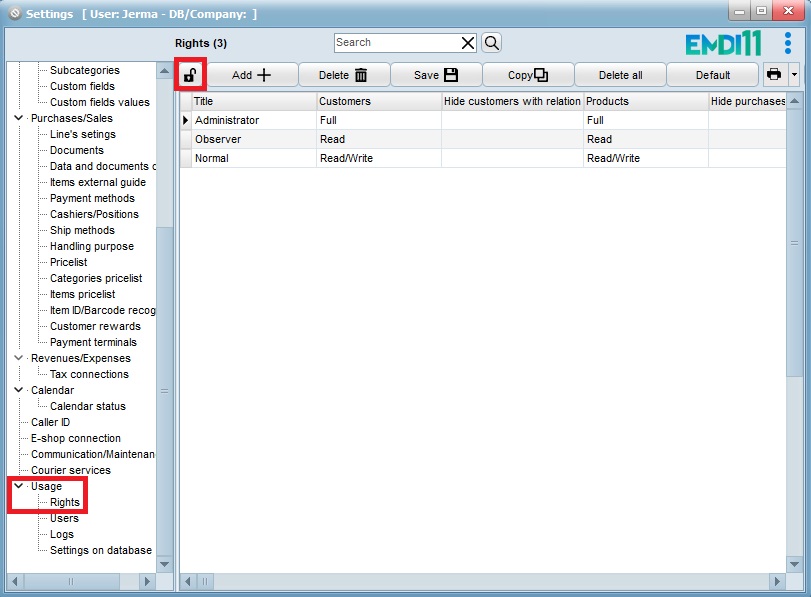
Another part of Users is the definition of Rights. They can be viewed, edited, created, or deleted via Settings –> Usage –> Rights.
After unlocking the lock icon on the top left, each of the Rights can be selected, edited, or deleted.
A Right can also be created by pressing the “Add +” button. Don’t forget to press the “Save” button, so that the changes take place.
Description of Rights’ elements:
Title Name of Right
Customers Permission to view, edit, or delete customers. (e.g. Normal: Has permission for everything, except deletion)
Hide customers with relation Hide customers of a certain relation. (The relation must be entered exactly as it’s listed e.g. “INTERNET CUSTOMER”)
Products Rights can be set to permit viewing, editing, or deleting products. (e.g. Read/Write/Edit creating and editing a product, but not deleting it)
Hide purchases Set a user’s ability to view Purchases.
Sales Set a user’s ability to view, edit, or delete documents. (e.g. Read only allows for document viewing, but not editing, or deletion)
Hide shift totals Set a user’s ability to view shift totals (if Shifts are enabled)
Revenues/Expenses Set a user’s ability to view, edit, or delete anything from Revenues/Expenses/Reports. (e.g. Read only allows for viewing reports, but no editing, or deletion)
Settings Set a user’s ability to view, edit, or delete from Settings. (e.g. User’s: Except delete has every right except for that of deletion)
Lock on sales Set a user’s ability to edit certain fields (e.g. if Description, or Value are selected, they cannot be edited)
Documents Set a user’s ability to view certain document types, by either selecting them from the “…” menu, or by typing the number assigned to a certain type. (e.g. if a user is only allowed to view Invoices and Credit Invoices, then the document codes 6, 91 are to be entered in the field)


